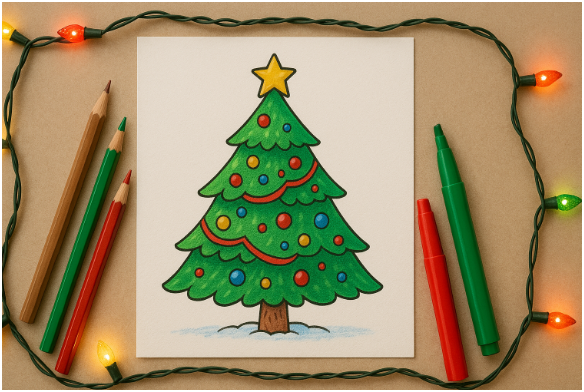
Last year, when I tried sketching my first Christmas tree for a handmade card, it looked more like a green triangle with stage fright.
But over time, I found a foolproof method to draw a Christmas tree easily, even if your art skills are “stick-figure-only.” Today, I’m sharing that process with you — fun, simple, and totally stress-free.
What Makes Drawing a Christmas Tree So Easy?
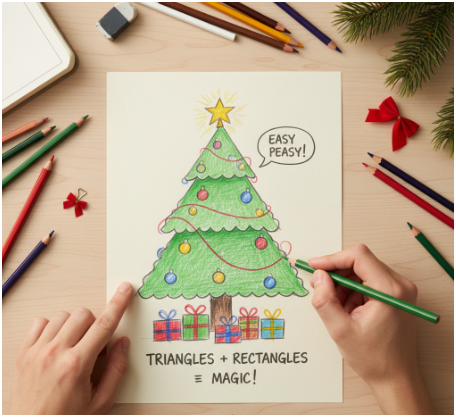
I realized that drawing a Christmas tree isn’t about perfection; it’s about playing with basic shapes. A few triangles, a small rectangle, and some festive details can instantly turn your sketch into something magical.
Instead of worrying about perfect symmetry, focus on getting the flow right — a wide base, a narrow top, and those cozy, layered branches that make every Christmas tree look inviting.
If you’ve ever followed my post on [simple holiday sketch ideas], you already know how using basic geometry can make any drawing approachable. The same principle applies here.
How Do I Start Drawing the Christmas Tree Shape?
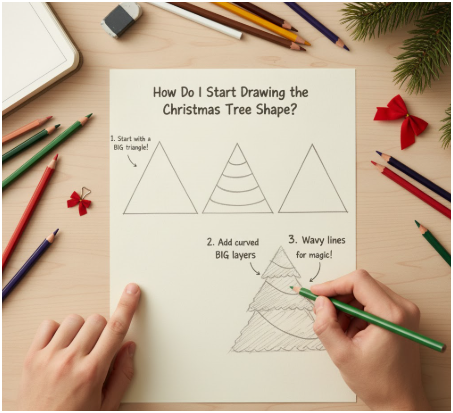
When I want a festive drawing fast, I use basic shapes. In this tutorial I’ll show you how I sketch a Christmas tree step by step. By the end, you’ll have a cute tree ready for decorations or coloring.
Materials I Use
- Pencil
- Eraser
- Paper
- Colored pencils or markers (green, brown, red, yellow, etc.)
Step 1: Sketch the Tree Shape
I begin by drawing a large isosceles triangle. That gives me the overall silhouette of the tree. Inside that, I draw three or four curved horizontal lines to divide the triangle into tiers of branches.
Then I trace slightly jagged or wavy lines along the triangle’s sides to make it look more natural.
Pro tip: If you want a slimmer tree, make the triangle taller and narrower. For a fuller tree, widen the base.
Step 2: Add the Trunk
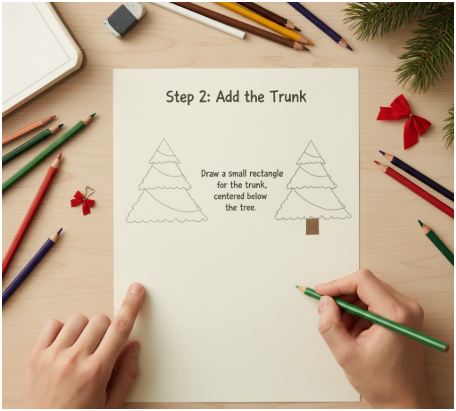
Below the triangle, I draw a small rectangle (or slightly curved rectangle) for the trunk. I make sure it’s centered beneath the tree shape so the tree doesn’t look lopsided.
Step 3: Place the Star
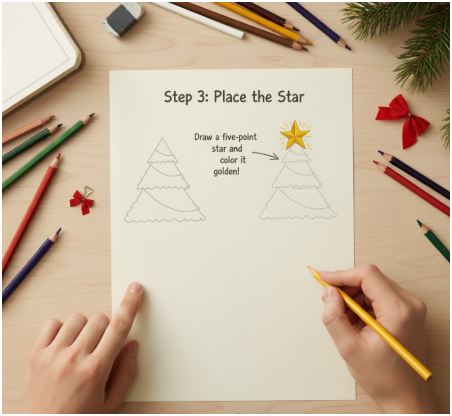
At the top, I sketch a five-point star. A simple method: draw two angled V shapes overlapping, or draw one line down, then slanted lines to the sides, and complete the star.
Once I’m happy with the placement, I darken the star.
Step 4: Decorate the Tree
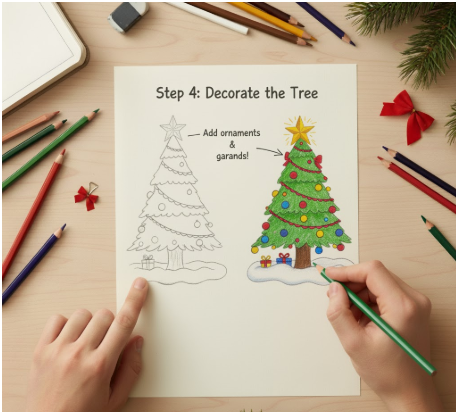
Now the fun begins — I decorate! Here’s how I do it:
- I draw circles of various sizes on different tiers to represent ornaments.
- I draw wavy or looping lines from one side to the other, wrapping around the tree, to show garlands.
- If I want, I add a snowy ground: a softly curved horizontal line at the bottom, maybe with little bumps to look like snow mounded.
As I decorate, I try not to overcrowd one area; I spread decorations across all tiers.
Step 5: Clean Up & Color

I erase the extra segmentation and guideline lines that I no longer need. Then I firm up my outlines.
Finally, I color:
- Tree in shades of green
- Trunk in brown
- Star in yellow or gold
- Ornaments in reds, blues, pinks, etc.
- Add shading or highlights to make it pop
To give your drawing more life, add shading: darken the left side and lighten the right. It makes your Christmas tree look sunlit and dimensional.
Sometimes I even use a bit of white gel pen to mimic snow on the branches. It’s a small touch that adds cozy, wintry charm.
How to Make the Drawing More Fun for Kids?

If you’re doing this activity with kids, skip rigid shapes and focus on imagination. Let them draw quirky ornaments — candy canes, hearts, maybe even smiley faces.
You can also draw a snowy ground below the tree with a simple curved line, then color it light blue or white. Kids love adding little gifts or a snowman beside their tree.
When I run family craft nights, I usually print outlines of trees and let everyone decorate their own. The results are always unique — from rainbow trees to galaxy-themed ones.
FAQ: Answers to Common Christmas Tree Drawing Questions
Q: Can I draw a Christmas tree without using triangles?
Yes! You can use freehand wavy lines stacked over each other to create a looser, more natural look. Triangles just make it easier to maintain structure for beginners.
Q: What paper should I use?
I prefer medium-weight sketch paper because it holds color and erases cleanly. If you plan to color with markers, thicker paper prevents bleed-through.
Q: Can I draw digitally instead of on paper?
Of course. I often sketch on my tablet using layers for outlines and colors. Digital tools let you experiment without worrying about mistakes.
Q: How do I make my Christmas tree look more realistic?
Add tiny branch details and vary your greens — a mix of olive and emerald tones creates depth. A soft shadow underneath also helps ground the tree.
Sparkle and Shine: My Final Touch
Every time I draw a Christmas tree, I remember that art doesn’t need to be flawless — it just needs heart. The little imperfections, the uneven ornaments, even the crooked star — they all tell a story of joy and effort.
So grab that pencil, put on your favorite holiday playlist, and start sketching. The best part of learning how to draw a Christmas tree easily is that you can make it your own — whimsical, elegant, or wildly colorful.
Pro Tip: Once your masterpiece is complete, scan it and print copies for your own holiday cards. It’s the most personal and affordable Christmas gift you can give.

